June 21, 2016

Wedding | Wrightsville Manor

This blog post is brought to you by the power of Facebook advertising…. let me explain 😉 The Monday prior to Memorial Day I was scrolling Facebook… and there popped a photo of a beautiful wedding venue… I clicked through to find out it was the brand-spanking-new Wrightsville Manor, located in Wilmington (very close to Wrightsville Beach…. between Airle Gardens & Lumina Station for anyone familiar with the area). My gut instinct was… I’ve got to shoot there!!! Without hesitation (or a plan!) I emailed Chrissy, the owner to see if they might let me shoot there the following Saturday. She said yes…. which meant, I had to hustle to find a bride and groom (and dress!). Thankfully, again through the power of Facebook, I was connected with Luma and Aaron, a young, engaged couple tying the knot this August. Whew! Finding models is always the hardest part. Now… the dress. Seeing the photos of the venue, led me to something classic… I reached out to Lily Rose Bridal in Cornelius, and they happily supplied a gorgeous Tara Keely gown. Luma and Aaron stopped by our house for Luma to get made up… some light makeup and soft curls were just right for the occasion. While working on her hair and makeup, I found out they didn’t have a wedding photographer…. you guys, I’m shooting their sunrise, beach wedding this August!!! This little shoot made a sharp twist I couldn’t have seen coming…. I’m so thrilled that I was able to photograph a beautiful couple at a stunning venue…. and equally thrilled I’ll get to shoot their real wedding day!   *Flowers were put together by me, and came from Fresh Market. The gardens surrounding the building are also impeccable!!

February 9, 2016

DIY | Big Bows

  In the south we put bows on everything… presents, Christmas trees, wedding dresses, our hair…. anything! When I was a little girl, my mom learned to make bows and immediately her gifts were almost too pretty to open. I learned to make them too, and it’s become a thing I’m known for… my gifts will be the prettiest, damnit! I hosted a shower for Jeremy’s sister last month, and decided to make a few for it… and then decided I should make a tutorial! Below are step-by-step instructions on how to construct the perfect bow! I couldn’t locate ribbon I liked in a timely manner, so I made my own from some cotton fabric I bought at Ikea. The fabric needs to have a little stiffness to make it work. You could use softer fabrics like silk or chiffon, but your bows will have to be much smaller. My one piece of advice not addressed in the tutorial is the ratio of ribbon size to finished bow. The skinnier your ribbon, the smaller your bow will need to be. The loops will be floppy if your ribbon is too narrow. You can start with step 2 if you are using actual ribbon. With one yard of fabric folded in half (hamburger style… not hotdog), cut one section about 4″ wide and unfold the section once done. I just folded it to make the cutting go faster.. but it doesn’t matter.  Take your long skinny piece of fabric (or ribbon) and roll it up in about a 10″ loop. You’ll have a little extra, leave it hanging long.  Now, take your scissors and make a cut 1/3 of the way across the rolled up piece, cutting through all the layers. Do it again on the other side, so now you have 2 cuts across from each other. Now repeat steps 1-3 again! You need 2 identical pieces to make your bow! Take one of your pieces and tie a piece of scrap ribbon around it, going through your cuts. It should make your fabric/ribbon pinch together a little. The larger the bow you’re making, use a wider piece of ribbon. My scrap piece was about an inch wide. *TIP* When you lay your looped piece down to tie the scrap through, make sure your tail of ribbon you left long is on top! It’s pictured backwards here!                                                                                                                                                                                                                                                    Take your second piece and tie it on top of the first at a 90 degree angle to the first piece. Again, put the tail on top (pictured wrong!)                  Flip the whole thing over, that your scrap ribbon hangs in the back. Pull all the loops apart, twisting them so that the cuts you made now catch on the fabric it’s twisted against… thus making your loops stay open and fluffy. Use your excess scrap ribbon to tie it on something!        
December 15, 2015

Girlfriends Gift Guide!

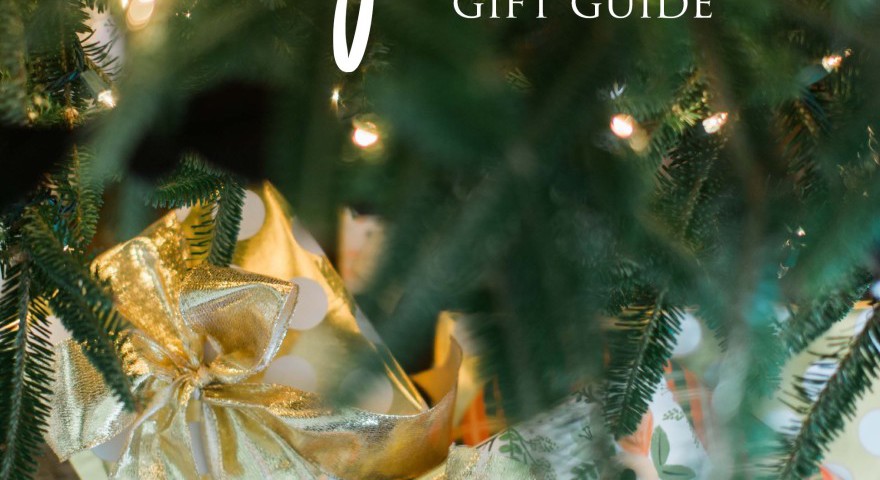
I love reading through gift guides on different websites (I actually found Jeremy’s gift through one this year!) I thought I’d play along and show off this year’s gift packaging. The floral & plaid papers are from Rifle Paper Co. The gold polka dot is from TJ Maxx. These colors tie in pretty perfect with the way our house is getting decorated! I’m all about creams and olive green lately… with a touch of peach/orange. I’ve compiled a little gift guide for those of you who might be struggling to find a little something for your friends! These are all items I already love, or would love to have. Huggable Hangers… they are one of those things you kinda hate spending money on, but they make your life so much better. No more shirts slipping off plastic hangers onto the floor of your closet! (and bonus… they make your closet pretty!) The Body Shop gift set… I find these occasionally in TJ Maxx and always scoop them up. They are wonderful for my “stash” and perfect for all the traveling I do. Jackery… I put one of these in Jeremy’s stocking last year and it’s been the most used gift ever. We take it everywhere with us! Marble Candle… its smells lovely and even better, I love the marble package! Hair ties…. because you can never have too many, and I love these. Gold foil print: I don’t have this particular one, but I love their products and the awareness this company is raising for infertility and adoption. An umbrella…. I gave all my friends umbrellas last year… again, not something we like spending money on, but is so worth it…. Wine tote… it’s Kate Spade, and adorablem stick a bow on it, a bottle in it, and you’re done! Essie nail polish…. because can you ever have too many?! The coveted blanket scarf from Target… that sucker is showing up everywhere and I might need to get my hands on one!
December 8, 2015

Family | Olivia & Caroline

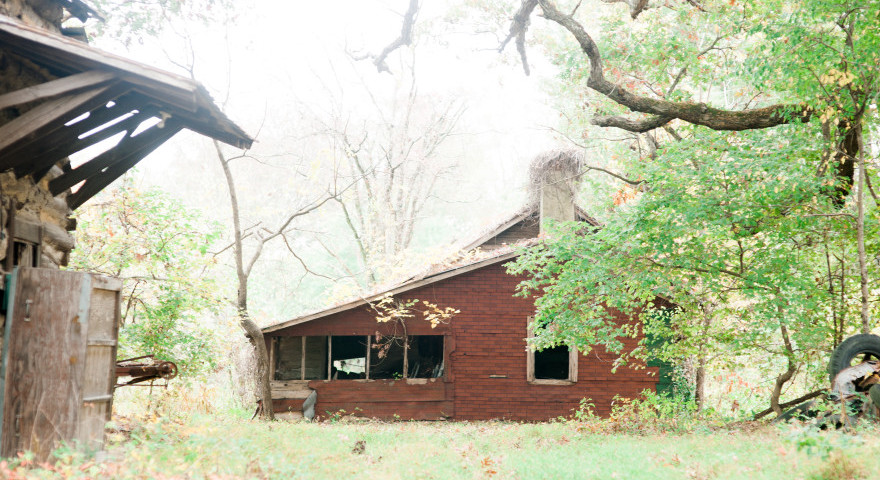
Happy Tuesday! If you failed to see last week’s post… back up and click here… it’s a biggie! Second, I’ve listed oodles of items for sale… perfect for all those holiday parties! Now, that you’ve read it…. Here are the gals we hope to provide cousins (they have NO cousins…either side… I cannot imagine a life without cousins!). It was really special to photograph them at our grandparent’s home (now my cousin and his wife are living there, fixing up the farm house), and by the house our dad was born in. Many times locations just don’t matter when it comes to photographs (it’s the light that matters!) but in this case, the location made it extra special!    
June 21, 2016

Wedding | Wrightsville Manor

This blog post is brought to you by the power of Facebook advertising…. let me explain 😉 The Monday prior to Memorial Day I was scrolling Facebook… and there popped a photo of a beautiful wedding venue… I clicked through to find out it was the brand-spanking-new Wrightsville Manor, located in Wilmington (very close to Wrightsville Beach…. between Airle Gardens & Lumina Station for anyone familiar with the area). My gut instinct was… I’ve got to shoot there!!! Without hesitation (or a plan!) I emailed Chrissy, the owner to see if they might let me shoot there the following Saturday. She said yes…. which meant, I had to hustle to find a bride and groom (and dress!). Thankfully, again through the power of Facebook, I was connected with Luma and Aaron, a young, engaged couple tying the knot this August. Whew! Finding models is always the hardest part. Now… the dress. Seeing the photos of the venue, led me to something classic… I reached out to Lily Rose Bridal in Cornelius, and they happily supplied a gorgeous Tara Keely gown. Luma and Aaron stopped by our house for Luma to get made up… some light makeup and soft curls were just right for the occasion. While working on her hair and makeup, I found out they didn’t have a wedding photographer…. you guys, I’m shooting their sunrise, beach wedding this August!!! This little shoot made a sharp twist I couldn’t have seen coming…. I’m so thrilled that I was able to photograph a beautiful couple at a stunning venue…. and equally thrilled I’ll get to shoot their real wedding day!   *Flowers were put together by me, and came from Fresh Market. The gardens surrounding the building are also impeccable!!
February 9, 2016

DIY | Big Bows

  In the south we put bows on everything… presents, Christmas trees, wedding dresses, our hair…. anything! When I was a little girl, my mom learned to make bows and immediately her gifts were almost too pretty to open. I learned to make them too, and it’s become a thing I’m known for… my gifts will be the prettiest, damnit! I hosted a shower for Jeremy’s sister last month, and decided to make a few for it… and then decided I should make a tutorial! Below are step-by-step instructions on how to construct the perfect bow! I couldn’t locate ribbon I liked in a timely manner, so I made my own from some cotton fabric I bought at Ikea. The fabric needs to have a little stiffness to make it work. You could use softer fabrics like silk or chiffon, but your bows will have to be much smaller. My one piece of advice not addressed in the tutorial is the ratio of ribbon size to finished bow. The skinnier your ribbon, the smaller your bow will need to be. The loops will be floppy if your ribbon is too narrow. You can start with step 2 if you are using actual ribbon. With one yard of fabric folded in half (hamburger style… not hotdog), cut one section about 4″ wide and unfold the section once done. I just folded it to make the cutting go faster.. but it doesn’t matter.  Take your long skinny piece of fabric (or ribbon) and roll it up in about a 10″ loop. You’ll have a little extra, leave it hanging long.  Now, take your scissors and make a cut 1/3 of the way across the rolled up piece, cutting through all the layers. Do it again on the other side, so now you have 2 cuts across from each other. Now repeat steps 1-3 again! You need 2 identical pieces to make your bow! Take one of your pieces and tie a piece of scrap ribbon around it, going through your cuts. It should make your fabric/ribbon pinch together a little. The larger the bow you’re making, use a wider piece of ribbon. My scrap piece was about an inch wide. *TIP* When you lay your looped piece down to tie the scrap through, make sure your tail of ribbon you left long is on top! It’s pictured backwards here!                                                                                                                                                                                                                                                    Take your second piece and tie it on top of the first at a 90 degree angle to the first piece. Again, put the tail on top (pictured wrong!)                  Flip the whole thing over, that your scrap ribbon hangs in the back. Pull all the loops apart, twisting them so that the cuts you made now catch on the fabric it’s twisted against… thus making your loops stay open and fluffy. Use your excess scrap ribbon to tie it on something!        
December 15, 2015

Girlfriends Gift Guide!

I love reading through gift guides on different websites (I actually found Jeremy’s gift through one this year!) I thought I’d play along and show off this year’s gift packaging. The floral & plaid papers are from Rifle Paper Co. The gold polka dot is from TJ Maxx. These colors tie in pretty perfect with the way our house is getting decorated! I’m all about creams and olive green lately… with a touch of peach/orange. I’ve compiled a little gift guide for those of you who might be struggling to find a little something for your friends! These are all items I already love, or would love to have. Huggable Hangers… they are one of those things you kinda hate spending money on, but they make your life so much better. No more shirts slipping off plastic hangers onto the floor of your closet! (and bonus… they make your closet pretty!) The Body Shop gift set… I find these occasionally in TJ Maxx and always scoop them up. They are wonderful for my “stash” and perfect for all the traveling I do. Jackery… I put one of these in Jeremy’s stocking last year and it’s been the most used gift ever. We take it everywhere with us! Marble Candle… its smells lovely and even better, I love the marble package! Hair ties…. because you can never have too many, and I love these. Gold foil print: I don’t have this particular one, but I love their products and the awareness this company is raising for infertility and adoption. An umbrella…. I gave all my friends umbrellas last year… again, not something we like spending money on, but is so worth it…. Wine tote… it’s Kate Spade, and adorablem stick a bow on it, a bottle in it, and you’re done! Essie nail polish…. because can you ever have too many?! The coveted blanket scarf from Target… that sucker is showing up everywhere and I might need to get my hands on one!
December 8, 2015

Family | Olivia & Caroline

Happy Tuesday! If you failed to see last week’s post… back up and click here… it’s a biggie! Second, I’ve listed oodles of items for sale… perfect for all those holiday parties! Now, that you’ve read it…. Here are the gals we hope to provide cousins (they have NO cousins…either side… I cannot imagine a life without cousins!). It was really special to photograph them at our grandparent’s home (now my cousin and his wife are living there, fixing up the farm house), and by the house our dad was born in. Many times locations just don’t matter when it comes to photographs (it’s the light that matters!) but in this case, the location made it extra special!